Sunday, March 31, 2013

Ninja Fender Eliminator

The old style Ninja 250s have a real ugly rear fender that sticks down and acts as a license plate holder and turn signal mounting point. I decided I had seen enough of it and wanted to clean the rear end of my bike up.


Not my bike but you can see how ugly that rear bit is.

My bike soon to be beautified.


The whole fender comes right off with a few bolts on the under side (the only thing holding it up there is the turn signal wires)
Taking appart the turn signals we found the metal bulb holders were flared into the plastic casing. This would need to be removed so we can move the turn signals elsewhere

unscrewing the brakelight in the back I noticed something pretty suspicious...
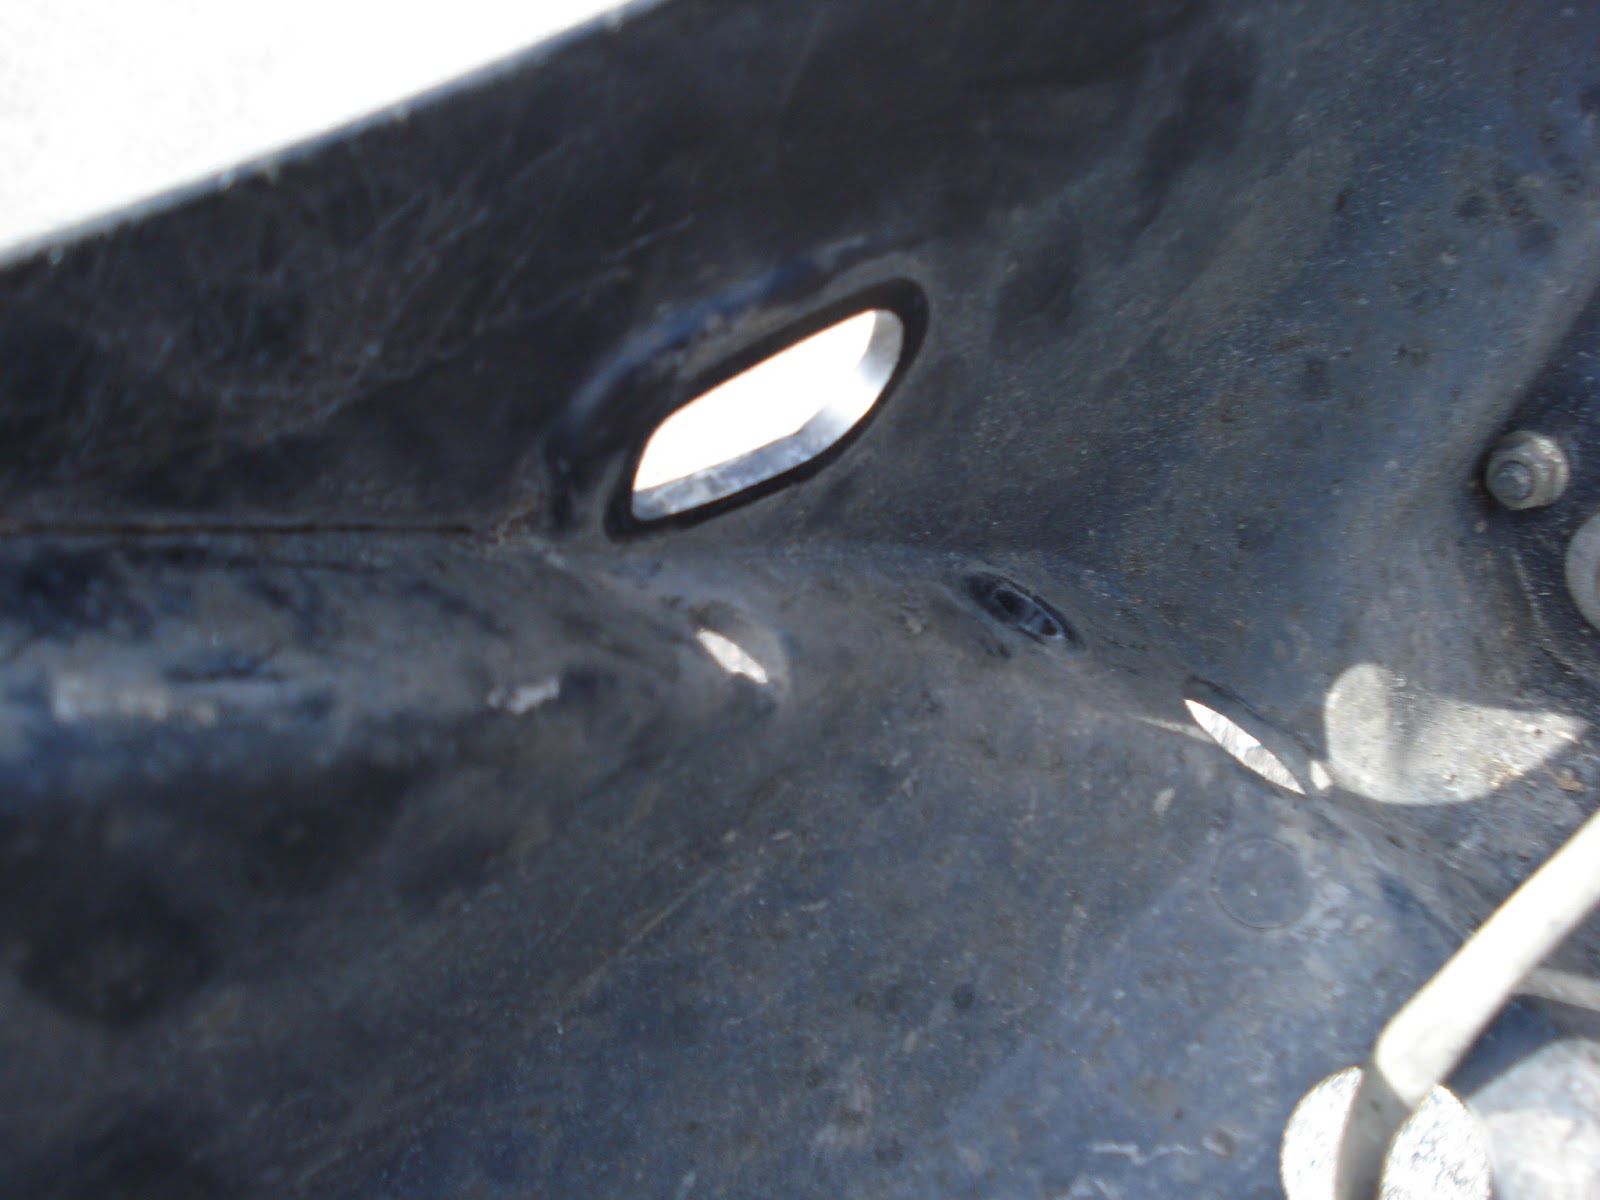
The hold on either side of the brake light seem pretty prefect for a bulb holder.


from the other side its pretty obvious that a turn signal could go there. What I think happened is the US required something that forced Kawasaki to make an additional fender and turn signals for their bikes sold in the US but in other markets they had the turn signals already integrated. This makes my job easy because I dont need to make a custom mounting for the turn signals!
taking out the old bulb holder

Fits perfectly!
Securing it in place with a little glue

Redoing and checking the wiring.

Bingo! We werent quite dont yet however because there needs to be a light to illuminated my license plate at night. I researched online how other people solved this and the most popular and simplest was to mount your plate under the brake light and remove a little pannel on the bottom so the light can shine down.


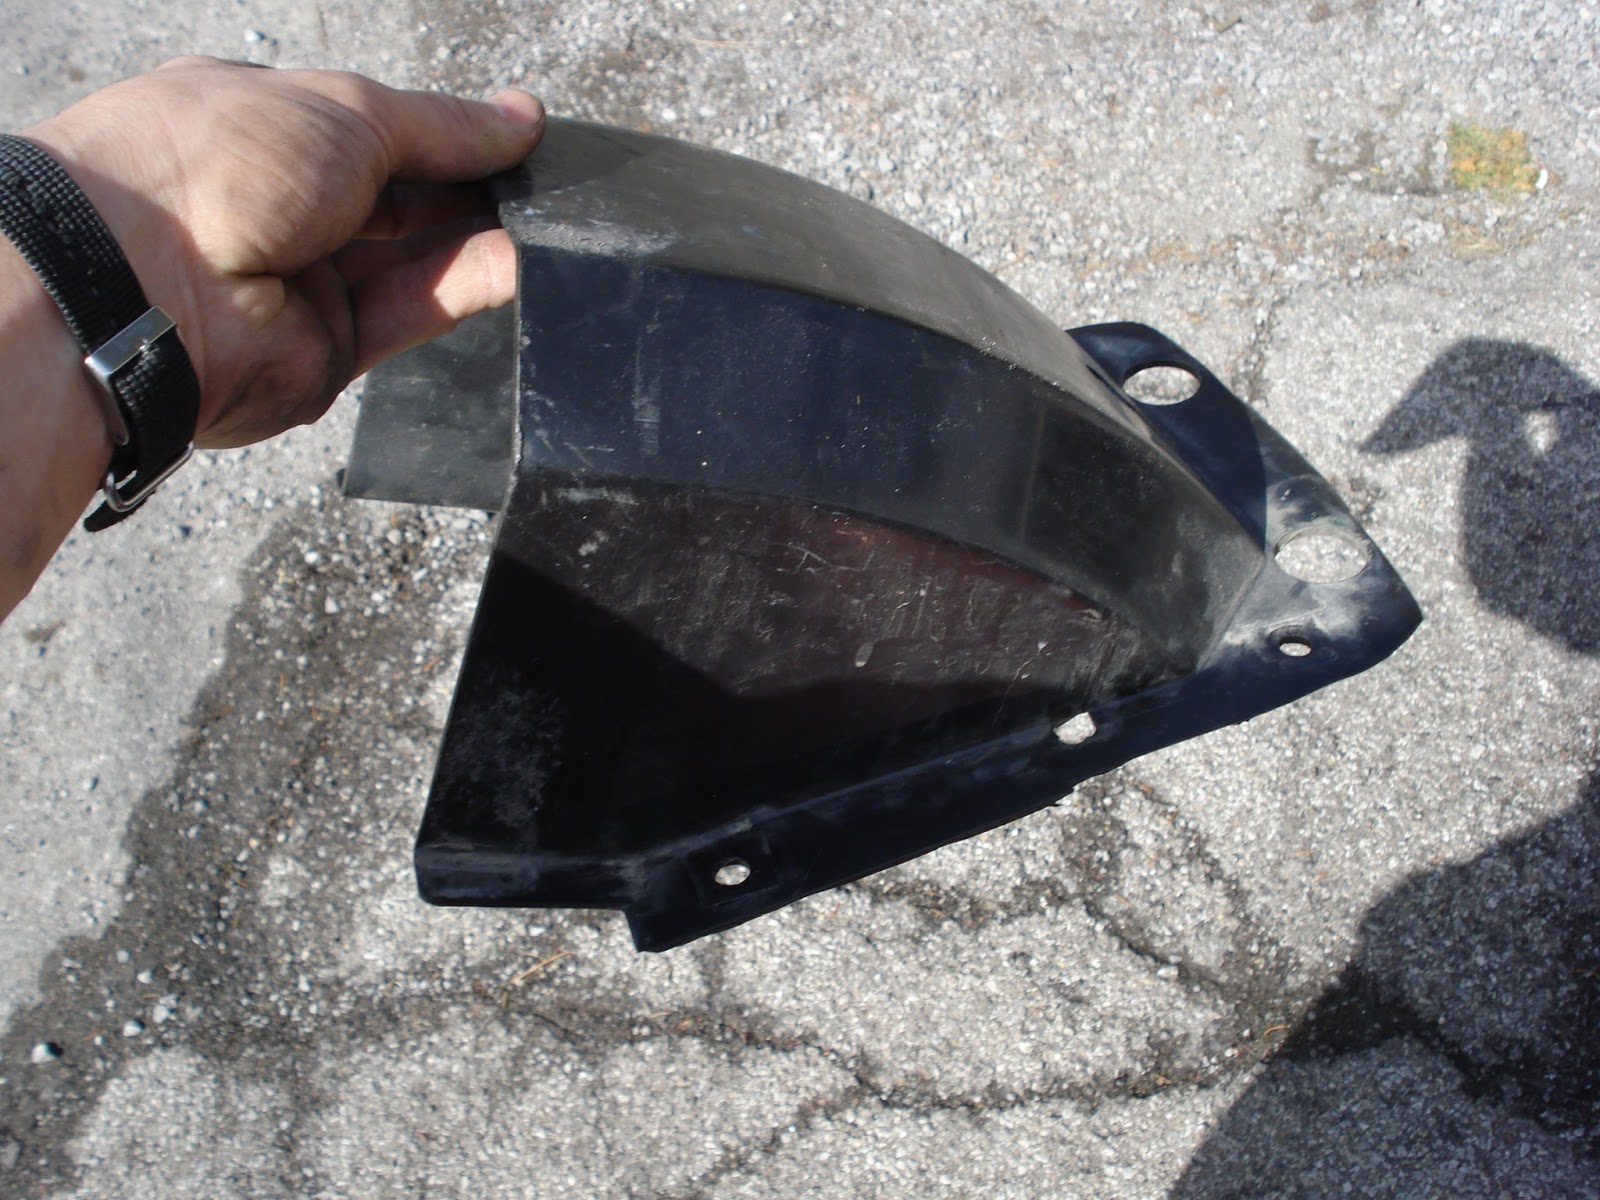
Super easy. Now all that was left was to trim up the old fender so the underside still protects my bike from rocks and mud and things.
trimming with a utility knife


done! The edges need some cleaning up maybe with a file but Ill do that later
Mike re installing the fender

All cleaned up!

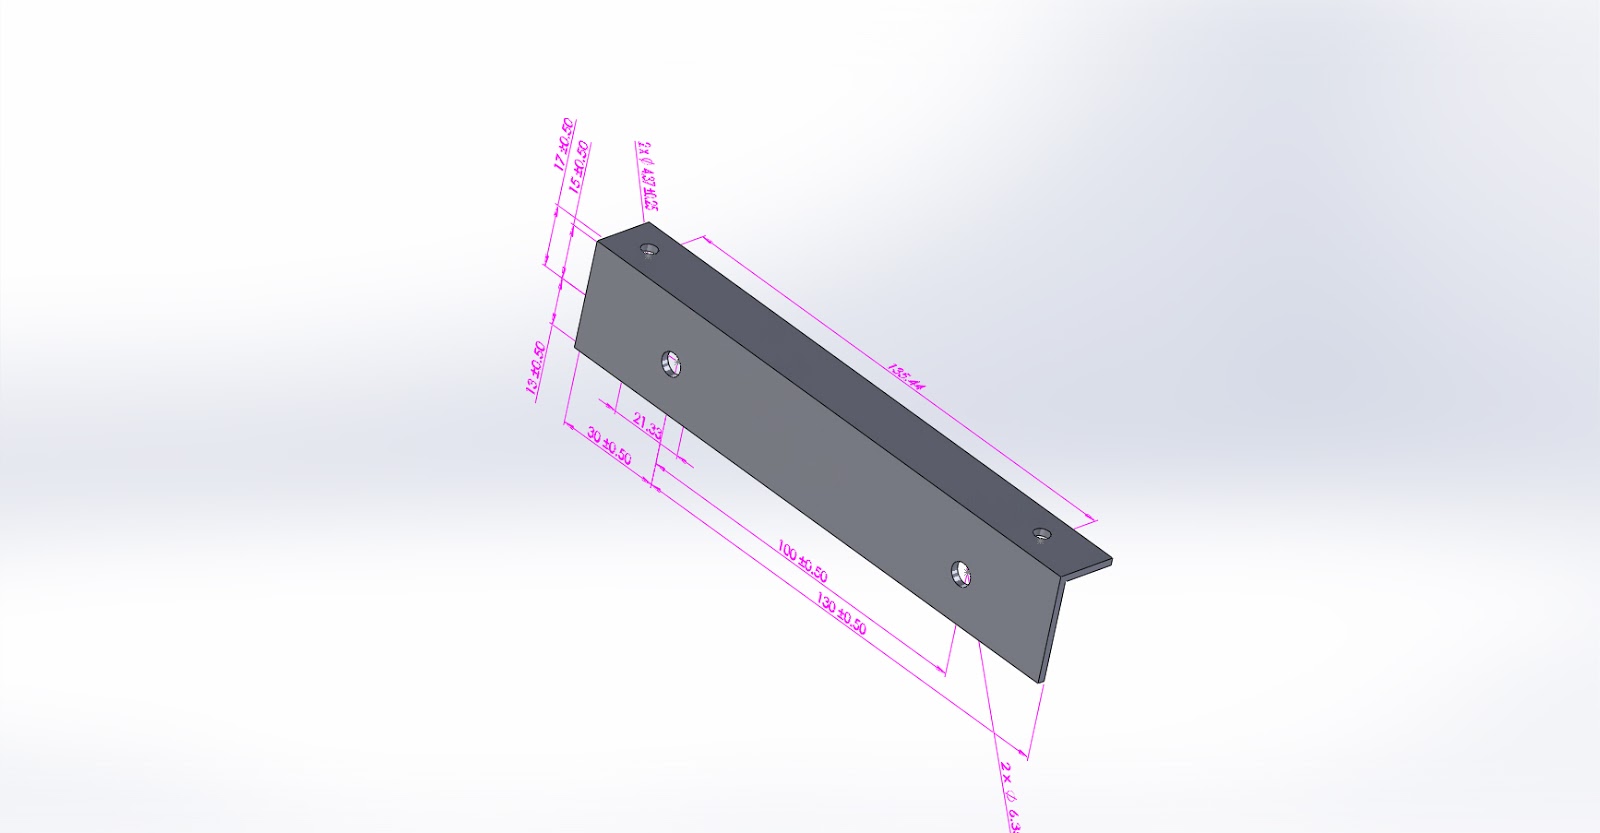
It looks awesome. All thats left is a license plate holder. I have a temporary one on right now but Im going to CAD design a nice one and machine it out  this week.


Simple plate bracket in Solid Works.


WRX Shift bushings

My friend has a 2012 Subaru WRX and wanted to tighten up his shift pattern. He ordered new bushings online so we went about swapping the stock ones out.
The lovely Subby


 New bushings!

 The cars pretty low to the ground so getting under it was a bit tricky even on ramps. The shift linkage came out pretty easily but getting the old bushing out was a bit of a challenge. 

After getting the heat shield off  we were able to get to the first bushing. It was cast right into the linkage and was flared at both ends so getting it out was tricky. I ended up using a knife to cut most of the flared end off the one side I could reach then with some clever prying and WD40 slid it out of the link arm.
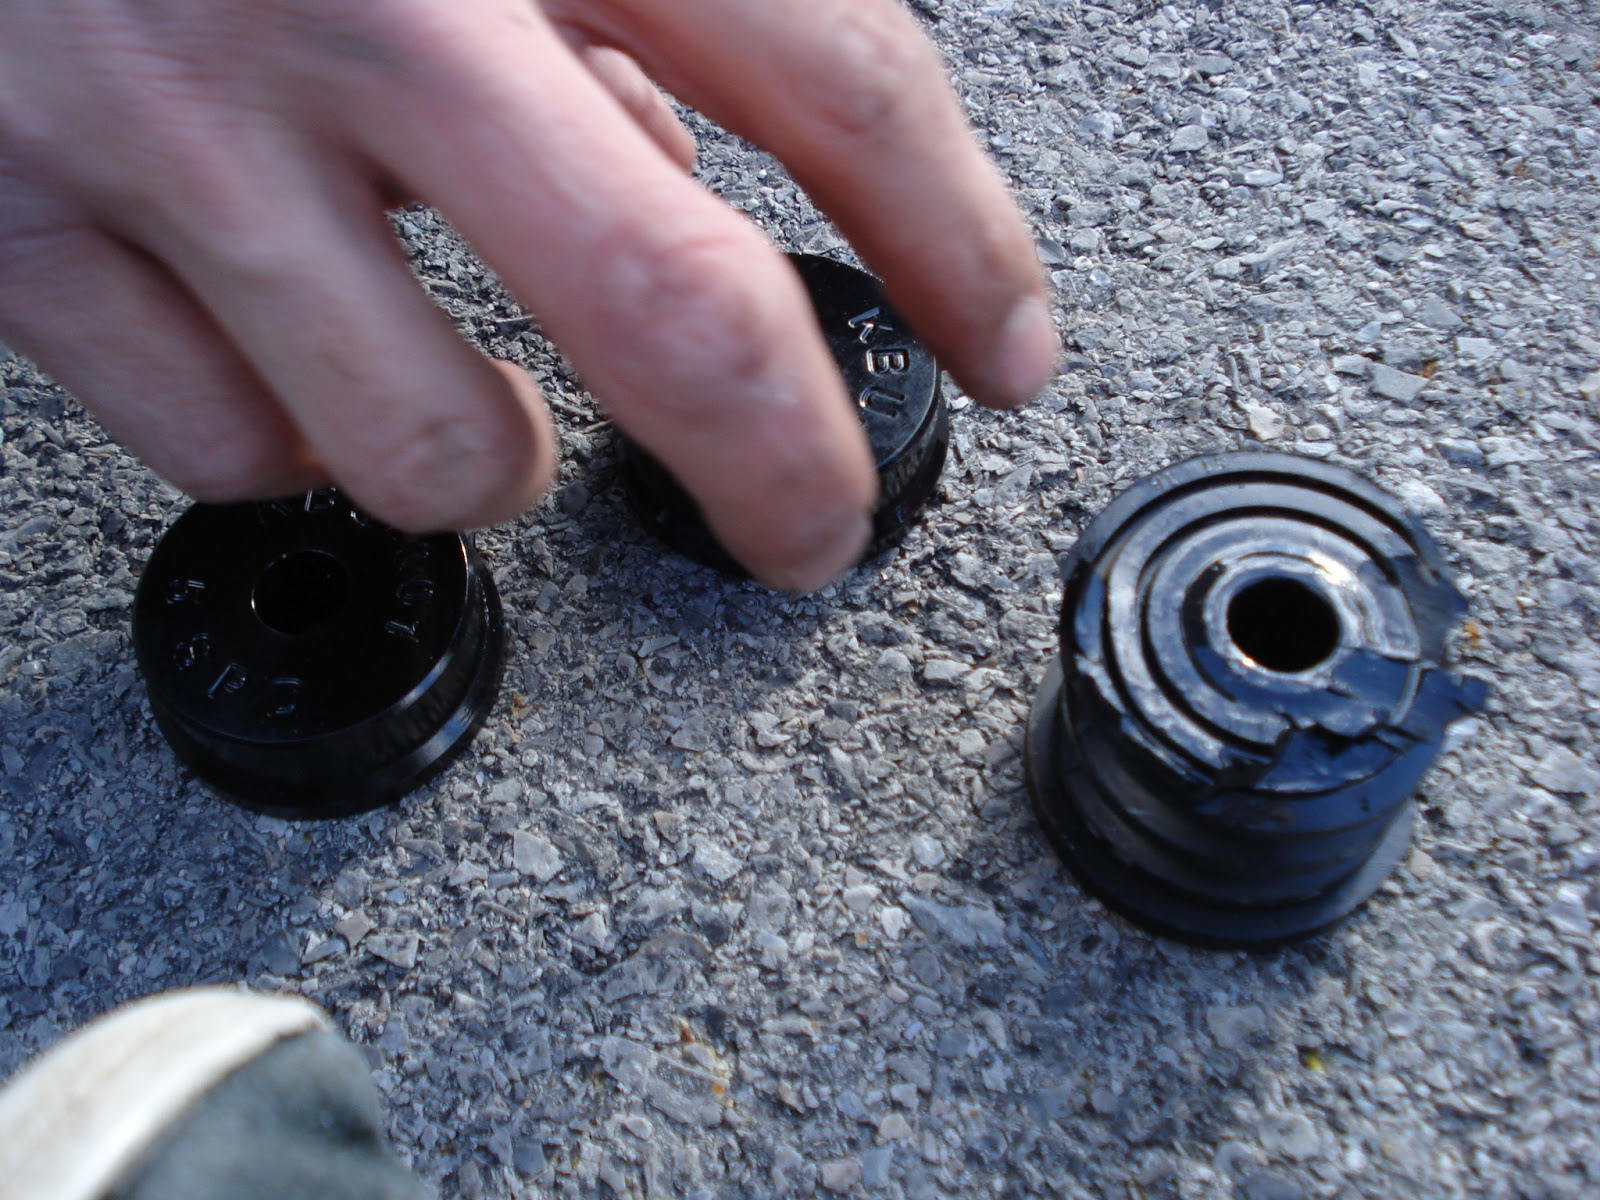
Old bushing 

Old Vs New. The new one is 2 piece so its easily installed and much firmer. 


This was the bushing up front (closer to the driver) it bolted directly to the under body of the car. The hole in the center is what held the shift link.


 Getting it out was easy but replacing it was tough. The two screws you see were extremely hard to thread and there was very little room between the driveshaft and exhaust to reach in. It took about and hour and a trip to the hardware store for one of these to get both started. After that everything was buttoned up and it was good to go!


The shifter felt significantly better and quicker into gear. The only downside was more engine vibrations could be felt in the shift nob itself (which is to be expected)

Friday, March 1, 2013

Ninja Rear Shock upgrade (Done)

My 2003 Ninja 250 has a really soft rear shock and I want to make it firmer for better handling and less compression under acceleration. 


List of things I want work on
-Take apart and clean carbs
-Sync carbs
-Change front and rear tires
-Replace damaged barends 
-Fix gastank leak
-Clear cloat new gas tank
-Pod filter w/ air box removal
-Rejet Carbs
-Fender Eliminator kit
-Front Shock upgrade (stiffer)
-Reflective pin striping wheels
-Muffler mod
-Rear Shock upgrade

Found some interesting stuff online about this.
Rear Shock Upgrade
Forum Post on topic

I read that the new gen ninjas have stiffer springs, are adjustable and raise the ride height by 1 or 2 inches. Higher ride height would be nice too.

Found this on ebay for $57 shipped.

The shock came today! Plan to install tomorrow.

Installation:

The Old shock


I took off the center stand a while back and had to put it back on again so the weight of the bike was off the rear tire. Had to take off both mufflers in order to replace the centerstand but
Unbolting the bottom of the shock was easy with a little WD40.


I couldnt get a picture of the top but it was pretty straight forward. Just a bolt with a nut welded onto the otherside. You could only access it from one side but with a socket extension it was pretty easy.

Old (top) vs New (bottom)


New shock completely in place!

All back together.


 Lessons Learned:
Pretty simple over all installation. The new gen shock is a simple bolt on replacement so i didnt need to fabricate any sort of custom parts. Im not sure if I should have replaced the entire shock bracket that it was attached to on the lower half because I have the new one but it seems identical so I left the old one on. Had I thought of it I would have painted the spring green before I installed it and gotten a cool aesthetic like this. Probably wouldnt be obvious but whatever. The bike sits a bit higher and doesnt sag anywhere near as much when i sit on it. Im excited to ride it and test the new spring out but snow, wet roads and salt are not a good combo for motorcycles.